How to play Warhammer 40,000: 10th Edition rules explained, from movement to attacks
For the Rules Emperor!

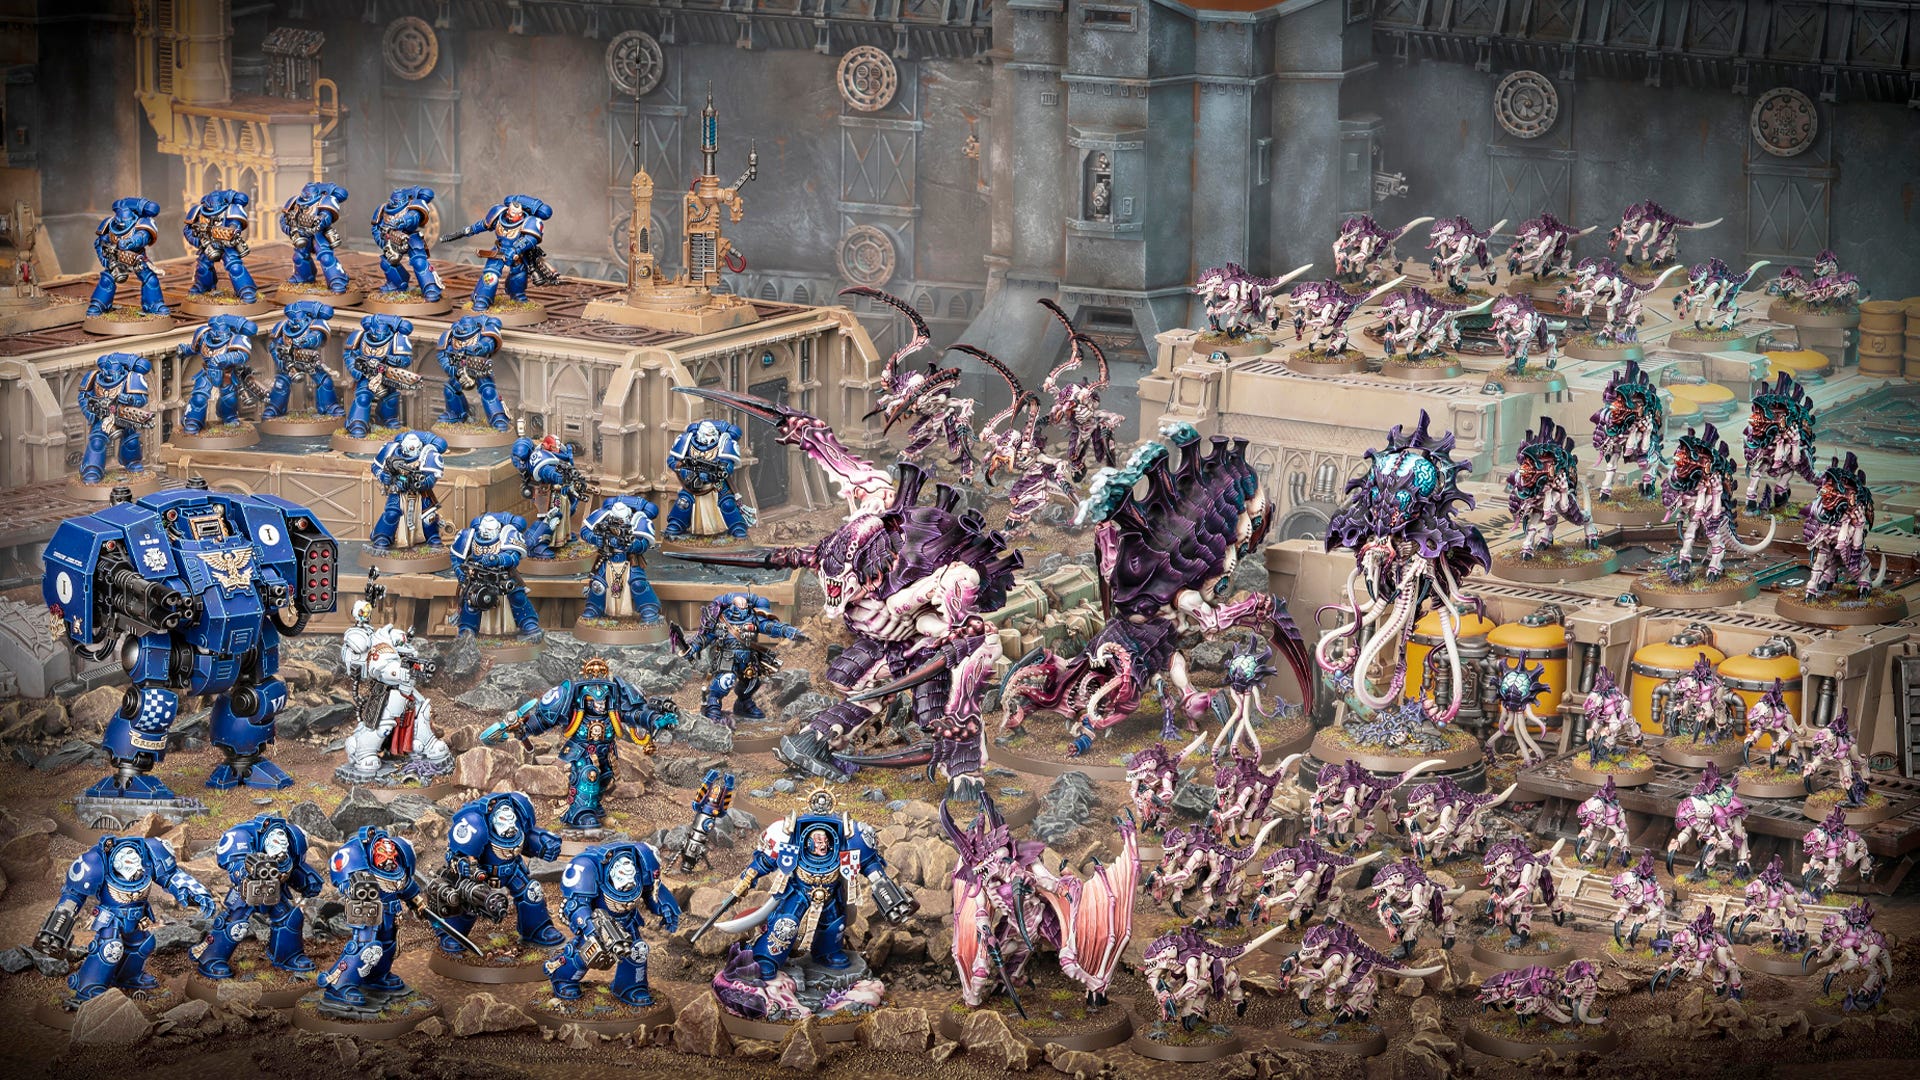
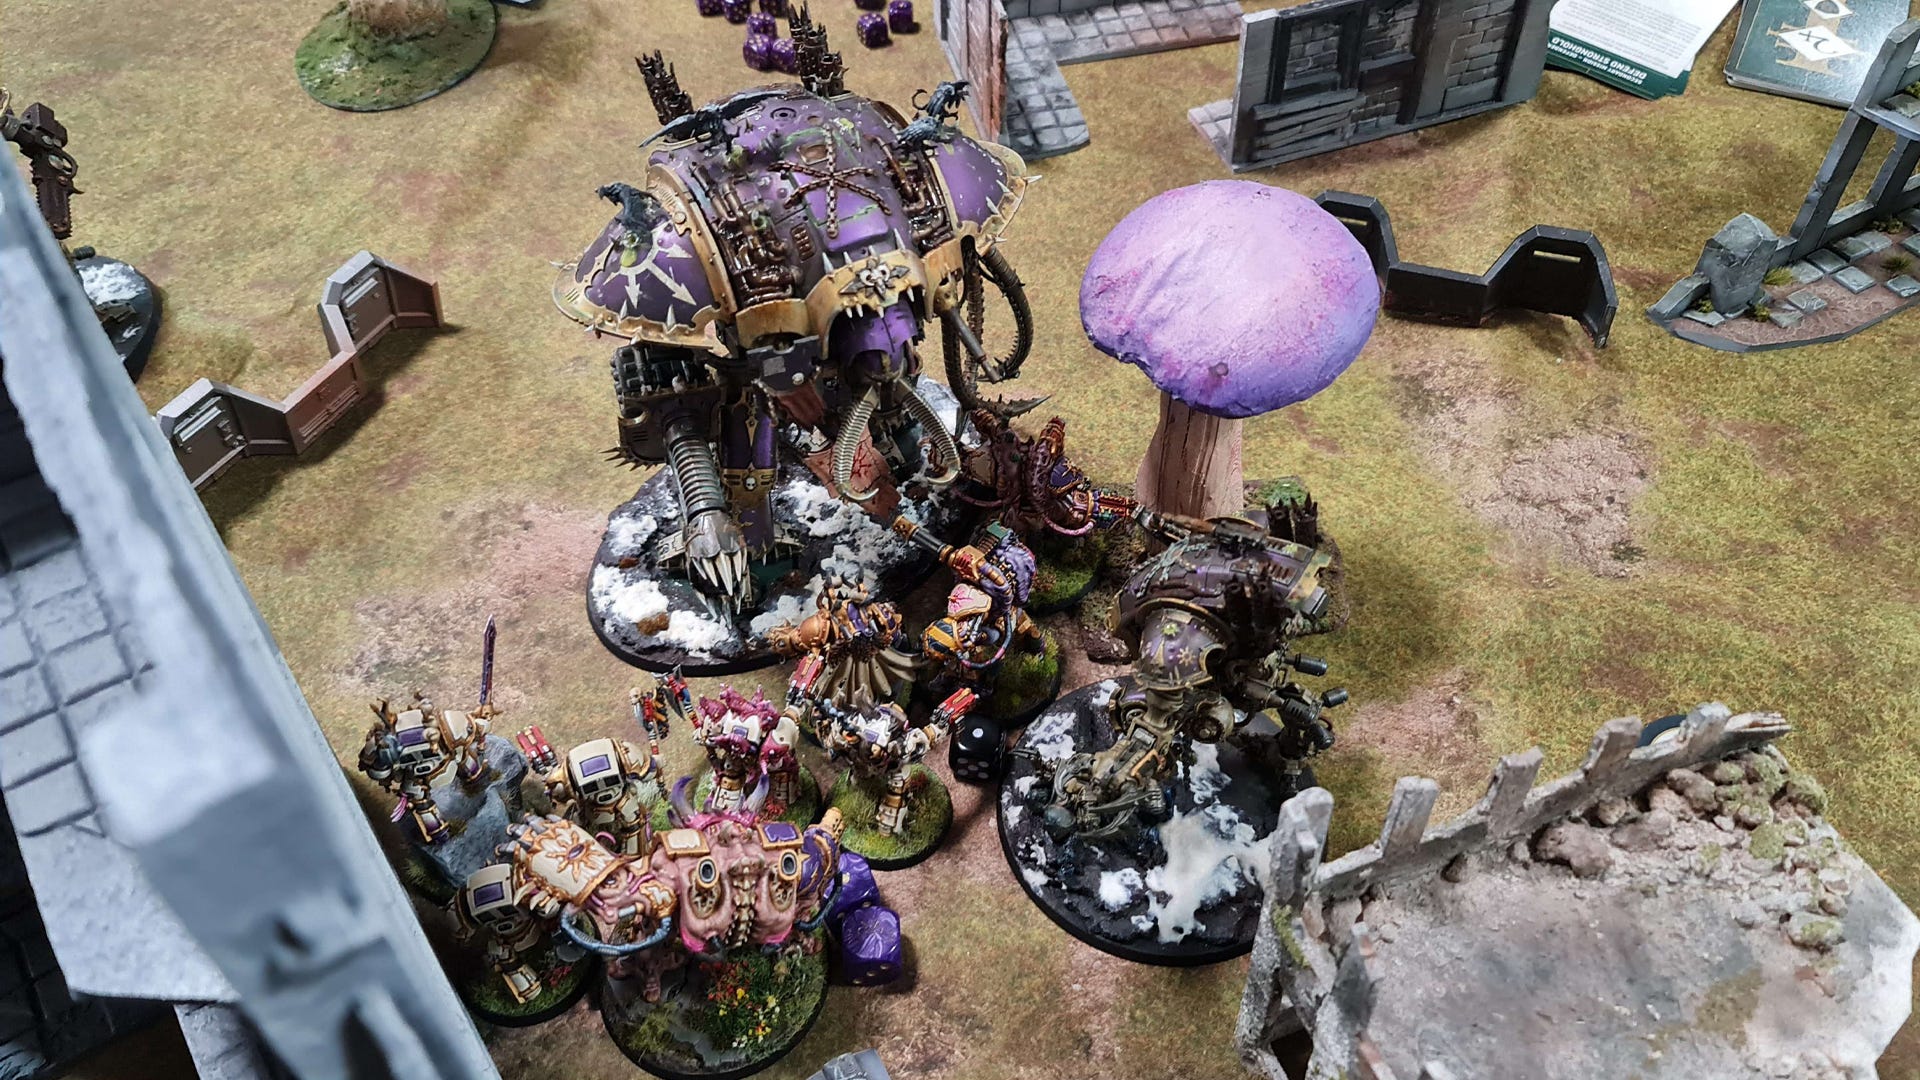
As someone new to Games Workshop’s flagship wargame, the task of learning how to play Warhammer 40,000 can seem a daunting one. Watch a game in action, or check out a few photos of one, and you’ll see dozens of minis being moved about, handfuls of dice being rolled and a plethora of books, cards, tokens and other accessories piled up all over the place. It’s a lot to take in!
How to play Warhammer 40k 10E
- How do you set up a game of Warhammer 40k?
- What is a battle round in Warhammer 40k?
- What are the phases of a Warhammer 40k turn?
- How do you make attacks in Warhammer 40k?
- How do you win in Warhammer 40k?
The good news is that the basic Warhammer 40,000 rules are a lot simpler than they might seem at first glance. The bulk of those big rulebooks is given over to background information, art, photography and optional rules that you may need to reference sometimes (that’s what all the cards are to help you with) but don’t need to learn.
The official 10th edition Core Rules document is around 60 pages - and much of that is detailed examples to cover certain eventualities and edge cases that are unlikely to come up as you’re learning the game, but are very important for competitive play at a high level. As a new player, your priority is becoming familiar with the battle round structure of Warhammer 40k and what happens in each of the five phases that make up a turn.
Never fear, Dicebreaker is here to help you learn the basics of how to play Warhammer 40k.

Warhammer 40k setup: How to pick a mission, prepare your army and deploy
There are three ways of playing Warhammer 40,000, which we look at more closely in our guide on where to start with Warhammer 40k. No matter which variant you’re playing, you and your opponent choose a mission which describes the kind of battle you’ll be fighting and what you need to do to emerge triumphant. The 10th Edition Core Rules contains the matched play mission Only War, which is a great place to start.
Each mission will include setup instructions for creating the battlefield, deploying your armies and determining the eventual victor. This will soon become second nature, but at first it’s important to carefully read through the mission and follow the-step by-step setup process:
- Muster Armies
- Read Mission Objectives
- Create the Battlefield
- Determine Attacker and Defender
- Declare Battle Formations
- Deploy Armies
- Determine First Turn
- Resolve Pre-Battle Rules
- Begin the Battle
1. Muster armies
This just means that you need to have an army of models to fight with! While this step is included as part of the mission sequence, it’s generally something you’ll do before meeting up with your opponent.
While Warhammer 40k battles can be fought at any points level, the Core Rules defines three common battle sizes: Incursion, Strike Force and Onslaught, which have limits of 1,000, 2,000 and 3,000 points respectively.
Matched play missions are designed to provide a good game at one or more of these sizes. The idea is that you can turn up to your local store or club with an army and play an opponent with the minimum of fuss.
2. Read mission objectives
Just trying to wipe out your opponent can be fun at first, but it soon becomes stale. Mission objectives keep things interesting by providing goals for you to achieve and really flex those tactical muscles. The mission objectives will tell you how you score victory points (VP) and may introduce special rules for the mission.
3. Create the battlefield
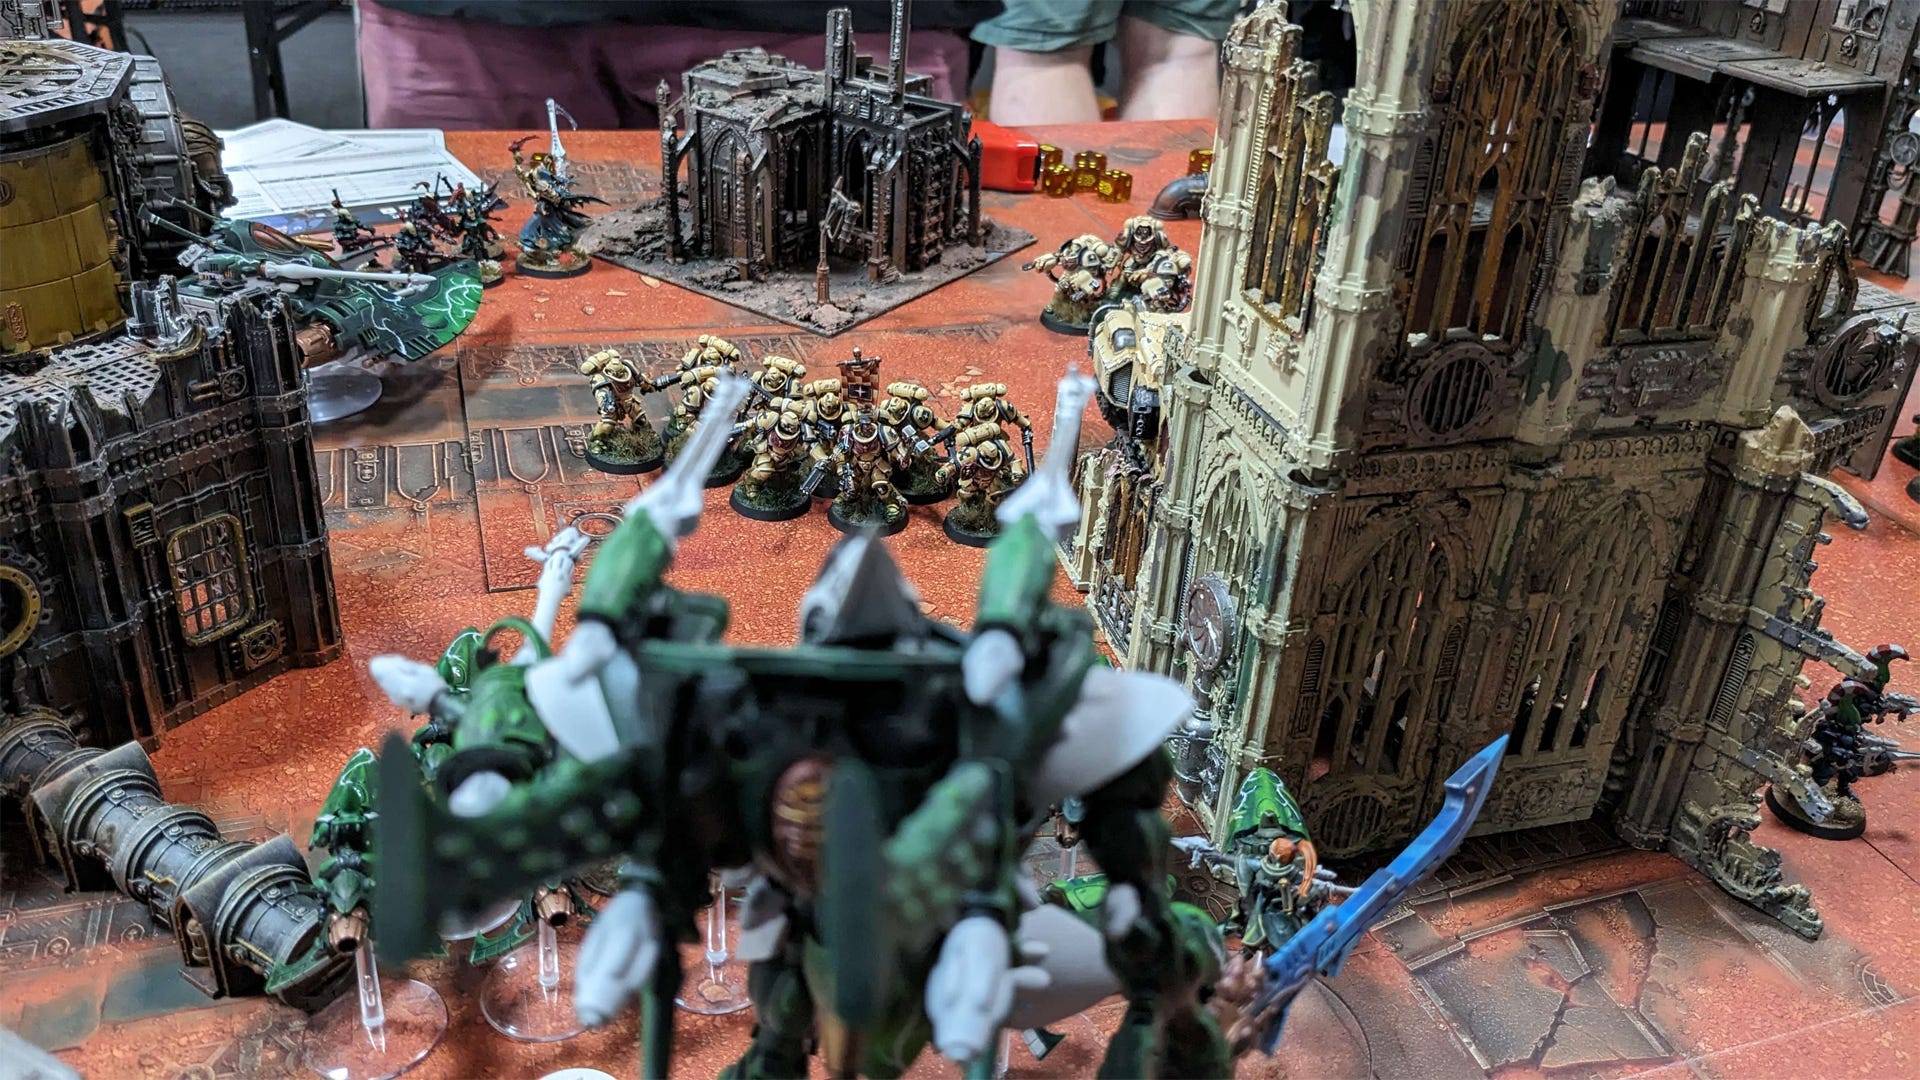
Now it’s time to set up your play area, whether you’re using mats, boards or just marking out an area of your dining table. This section of the mission will give you a minimum battlefield size, depending on the points value of the game, and will also include any special instructions for placing terrain.
The 10th Edition Core Rules have examples of battlefield terrain setups and guidelines for placing terrain (pages 49 to 52). Don’t worry about it too much as a new player - with experience you’ll get the hang of creating a fun, fair battlefield.
The mission will also give you instructions for setting up objective markers or any other zones that need to be designated for the mission.
4. Determine attacker and defender
Each player rolls a d6. Whoever gets the higher value is the Attacker, with their opponent becoming the Defender. In case of a tie, just roll again.
5. Declare battle formations
While you’ll have already determined your army list, you have a few decisions to make before you start deploying your units. Which leader units are attached to units of troops, which units start embarked on Transports and which units start in Reserves are all decided at this stage.
According to the official Warhammer 40k rules, you should note these down in secret and then reveal the information to your opponent, but for casual games it’s generally accepted to just discuss it.
6. Deploy armies
Your chosen mission will give instructions on deploying your armies, including defining your deployment zone and any special rules or restrictions that may apply. In the case of the Only War mission, players will deploy their armies one unit at a time, starting with the attacker.
While not strictly a part of the mission sequence, this step is an excellent opportunity to talk through your army with your opponent. Good communication is the key to having a great tabletop gaming experience and there’s a good chance that even an experienced player won’t know all the ins and outs of your army, unless they play that army themselves. You don’t need to go into a lot of detail, but highlighting which units are really tough, which have strong long ranged attack, which have unusual special abilities and so on can help your opponent make good tactical decisions and give you a better game.
7. Determine first turn
Once again, this will vary by mission. Sometimes it’ll automatically go to the Attacker or Defender, especially in missions where each player has different objectives. Other times, it’ll be determined randomly. If you’re playing Only War, players roll off to determine the first turn, the same as in step four.
8. Resolve pre-battle rules
Your army may have special rules that take effect before the first battle round. If that’s the case, they happen now. Once again, communication is important, so talk your opponent through what you’re doing and how it affects your units and theirs.
9. Begin the battle
This is where the magic happens! Also the stabbing, shooting and other fun activities involved in grimdark future warfare. For more detail on battle rounds, turns and phases - as well as how to decide a winner - read on the next section of this guide!
What is a battle round in Warhammer 40k?
A game of Warhammer 40k consists of a number of battle rounds, usually about five, during which you and your opponent will each get a turn.
40k is what is commonly referred to as an “I Go, You Go” game, which means each turn you will move and fight with your whole army, before play switches to your opponent who will do the same. (For reference, the other common system for tabletop games is when you and your opponent take turns with a single unit at a time and is called “alternating activations”.)
Warhammer 40k turn phases
Each turn in Warhammer 40k is divided into five phases with nice, self-explanatory names:
- Command Phase
- Movement Phase
- Shooting Phase
- Charge Phase
- Fight Phase
If you take each turn phase by phase, you’ll find that learning how to play Warhammer 40k is a lot more straightforward than it may seem.
1. Command Phase
The Command Phase is the shortest and simplest phase. Each player gets one Command Point (CP), a resource which is spent on Stratagems, special actions that you can take with your units. It’s worth noting that you get a CP on your opponent’s turn as well as your own.
After that, any units in your army that have fewer than half their models remaining, or half their starting Wounds for units made up of a single model, must take a Battle-shock test. To pass a Battle-shock test, you must roll under the unit’s Leadership value on 2d6 (two six-sided dice). Failure means that the unit won’t be able to hold objectives and cannot be targeted with Stratagems.
2. Movement Phase
During the Movement Phase, all your units get a chance to move. No surprises there! A unit can move up to its Movement characteristic in inches, although there’s usually no requirement to move the full distance, and a unit can even remain stationary.
Units that need to pick up the pace can also choose to Advance, which gives them an extra d6 of movement in inches, but they can’t shoot or charge later in the turn. In either case, units cannot move within Engagement Range of enemy models, which just means within one inch horizontally and five inches vertically.
If a unit starts out in Engagement Range of an enemy model, it can still move, but it has to Fall Back. A unit which Falls Back can move its normal Movement distance, but cannot shoot or charge that turn.
Some units have special rules which allow them to be held in Reserves instead of being deployed at the start of the game. Those units arrive in the Reinforcements step after the rest of your Movement has been completed. In almost all cases, Reinforcements can’t arrive until at least turn two.
3. Shooting Phase
Now the real fun begins! During the Shooting Phase, your units armed with ranged weapons fire upon the enemy, one unit at a time. To shoot at an opposing unit, each attacking unit follows these steps:
1. Select eligible unit
A unit is eligible to shoot if it hasn’t Advanced or Fallen Back, and isn’t within Engagement Range of an enemy model. There is an exception to the last rule for Monster and Vehicle units. (See the Big Guns Never Tire sidebar on page 20 of the Core Rules.)
2. Select targets
The models in a unit don’t all have to attack the same enemy units, but all targets must be within the weapon’s range and be visible to the attacking model. An enemy unit usually can’t be targeted if it’s within Engagement Range of one of your models, but as before there is an exception for Monster and Vehicle units.
3. Make ranged attacks
The procedure for making attacks is the same for both shooting and melee attacks, as explained below.
4. Repeat
Pick another eligible unit and do it all again until you run out of units.
4. Charge Phase
After you’ve softened up the enemy with a barrage of gunfire, it’s time to get stuck in. In the Charge Phase, any eligible units can try and get close enough to the enemy to give them a good kicking. Or fisting, swording, axing - whatever you like, really. You may not always want to do this, as many units are much better off keeping their distance, but at some point you will need to charge.
1. Select eligible unit
Any unit that didn’t Advance or Fall Back, and is within 12 inches of an enemy unit is eligible to charge, unless it’s an Aircraft.
2. Select targets
Pick one or more enemy units within 12 inches of the charging unit. They don’t have to be visible to be eligible.
3. Make charge roll
Roll 2d6. If the result allows the unit to move within Engagement Range of the target unit(s), the charge is successful. Otherwise, the unit must remain stationary.
4. Move units
Assuming the Charge roll was successful, you may now move your models into Engagement Range of the target enemy unit.
5. Repeat
Select another unit that you wish to charge the enemy and repeat the process.
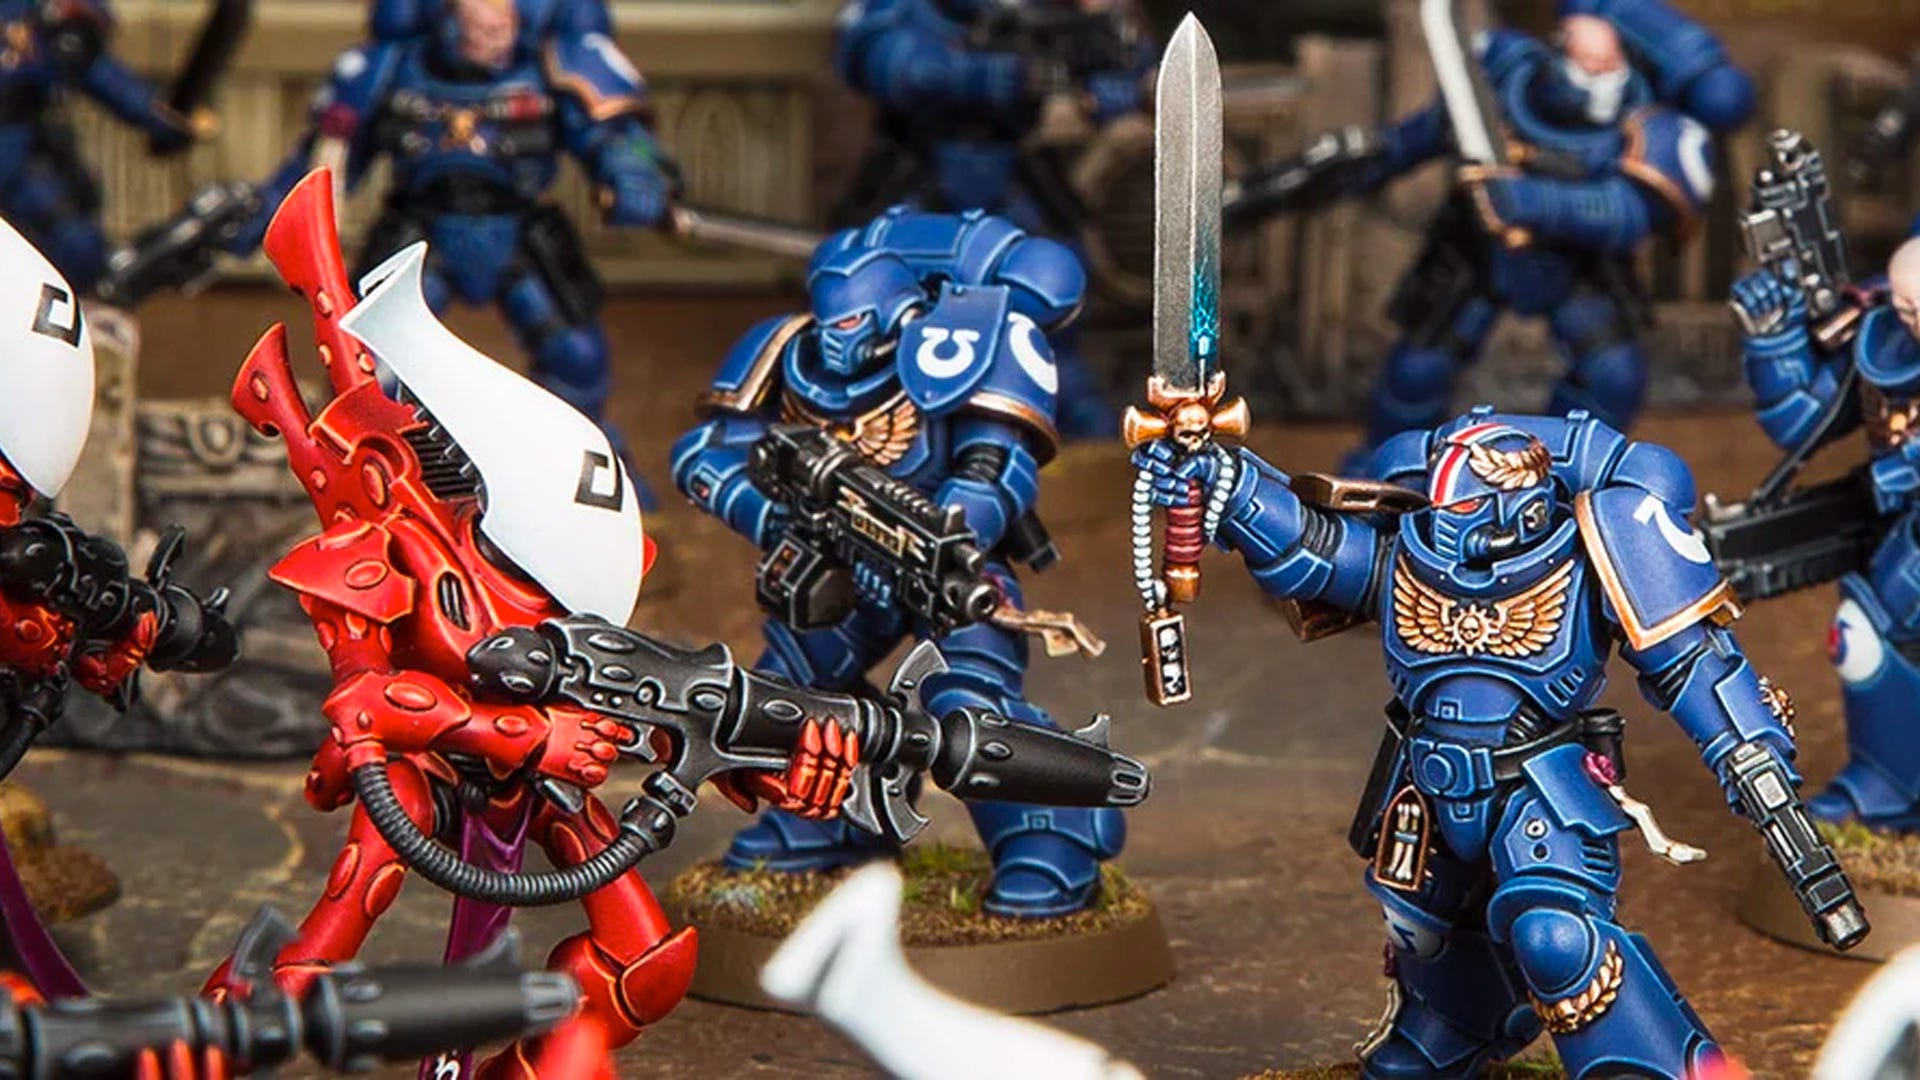
5. Fight Phase
Last, but certainly not least, is the Fight Phase. Unlike the other phases, both you and your opponent’s eligible units will get a chance to dish out some hurt.
Starting with the player whose turn it is, you each take turns choosing a unit to fight with until all combat has been resolved. There is a special exception to this, which is that units with the Fights First ability get to - you guessed it - fight first. Units that charged automatically get the Fights First ability for the turn, while a rare few particularly quick-witted units have it all the time. It’s why manoeuvring into a position that allows you to get the drop on your opponent is so important. After all, they can’t fight back if they’re already dead!All units with the Fights First ability will go through this sequence first, followed by the rest of the eligible units:
1. Pile-In
This is a special three-inch move that individual models can make in order to get into Engagement Range of enemy models. After all, they’re not going to just stand there while their mates get to have all the fun! When making a Pile-In move, models must end up closer to an enemy model than when they started the move, and should be in base-to-base contact if possible.
2. Make melee attacks
Any model within Engagement Range of an enemy model can fight. It can also make an attack if it’s in base-to-base contact with a friendly model that is in base-to-base contact with an enemy model. Attacking models with multiple melee weapons can only choose one to make attacks with. Once you’ve chosen a model, a weapon and a target, resolve the attacks as per the attack sequence.
3. Consolidate
This is a bit like a Pile-In move, except that it happens after attacks have been made. It allows models that have successfully slain their opponents to get up close and personal with their next target, ready for the following turn. Like a Pile-in, this a three-inch move that must end up closer
How do attacks work in 40k?
Like the various phases of a turn, making an attack is broken down into a straightforward step-by-step process. Special rules and weapon abilities can alter things, but the basics always stay the same.
These steps are the same for both Ranged and Melee attacks - the only difference being that Ranged attacks use the Ballistic Skill value and Melee attacks use Weapon Skill.
1. Hit roll
Roll 1d6 for each attack. Every roll that equals or exceeds the Weapon Skill or Ballistic Skill characteristic of the attack is successful. Unmodified rolls of one always fail and unmodified sixes always succeed. Hit rolls cannot be modified by more than -1 or +1.
2. Wound roll
For each successful hit, you now make a Wound roll. You must compare the Strength value of the attack with the Toughness value of the target and check the chart below to see what you need to successfully cause a wound. Unmodified rolls of one always fail and unmodified sixes always succeed. Wound rolls cannot be modified by more than -1 or +1.
| Attacker’s Strength value vs target’s Toughness value | Dice result needed to wound |
|---|---|
| Strength is at least double Toughness | 2 or higher |
| Strength greater than Toughness | 3 or higher |
| Strength and Toughness are equal | 4 or higher |
| Strength lower than Toughness | 5 or higher |
| Strength is half (or less) than Toughness | 6 or higher |
3. Allocate attack
The player controlling the target unit now allocates the attack to a model in the unit. This is important because you’d probably want a basic troop to die before one carrying a special weapon. If the model with multiple wounds has a wound assigned to it, all further wounds must be assigned to that model until it dies.
4. Saving throw
The player controlling the target model now gets to make a saving throw for each successful wound, trying to equal or exceed the Save characteristic of the model, modified by the attack’s Armour Penetration characteristic. Unmodified rolls of one always fail, but unmodified rolls of six don’t automatically succeed. This means that some weapons are powerful enough to entirely disregard the target’s armour.
Some units have an invulnerable save. This is exactly like a regular save, except that it isn’t modified by Armour Penetration. A model only gets to take a regular save or an invulnerable save, it can’t take both.
5. Inflict Damage
For each failed saving throw, the target model loses a number of wounds equal to the attack’s Damage characteristic. If it reaches zero wounds, it is destroyed and removed from play. If the model is destroyed by the attack, any excess damage is lost.
Once the last attack of the Fight Phase has been resolved, you’ve successfully completed a turn! Now it’s over to your opponent.
How to win in Warhammer 40k
Your chosen mission will tell you when the battle comes to an end. This will likely be at the end of a given battle round - usually round five - or when one side has been completely wiped out.
Once the action is over, it’s time to figure out who actually won your 40k match. Generally speaking, this will be whoever scored the most VP, as described in the Mission Objectives step, though sometimes you can win by destroying your opponent’s entire army.